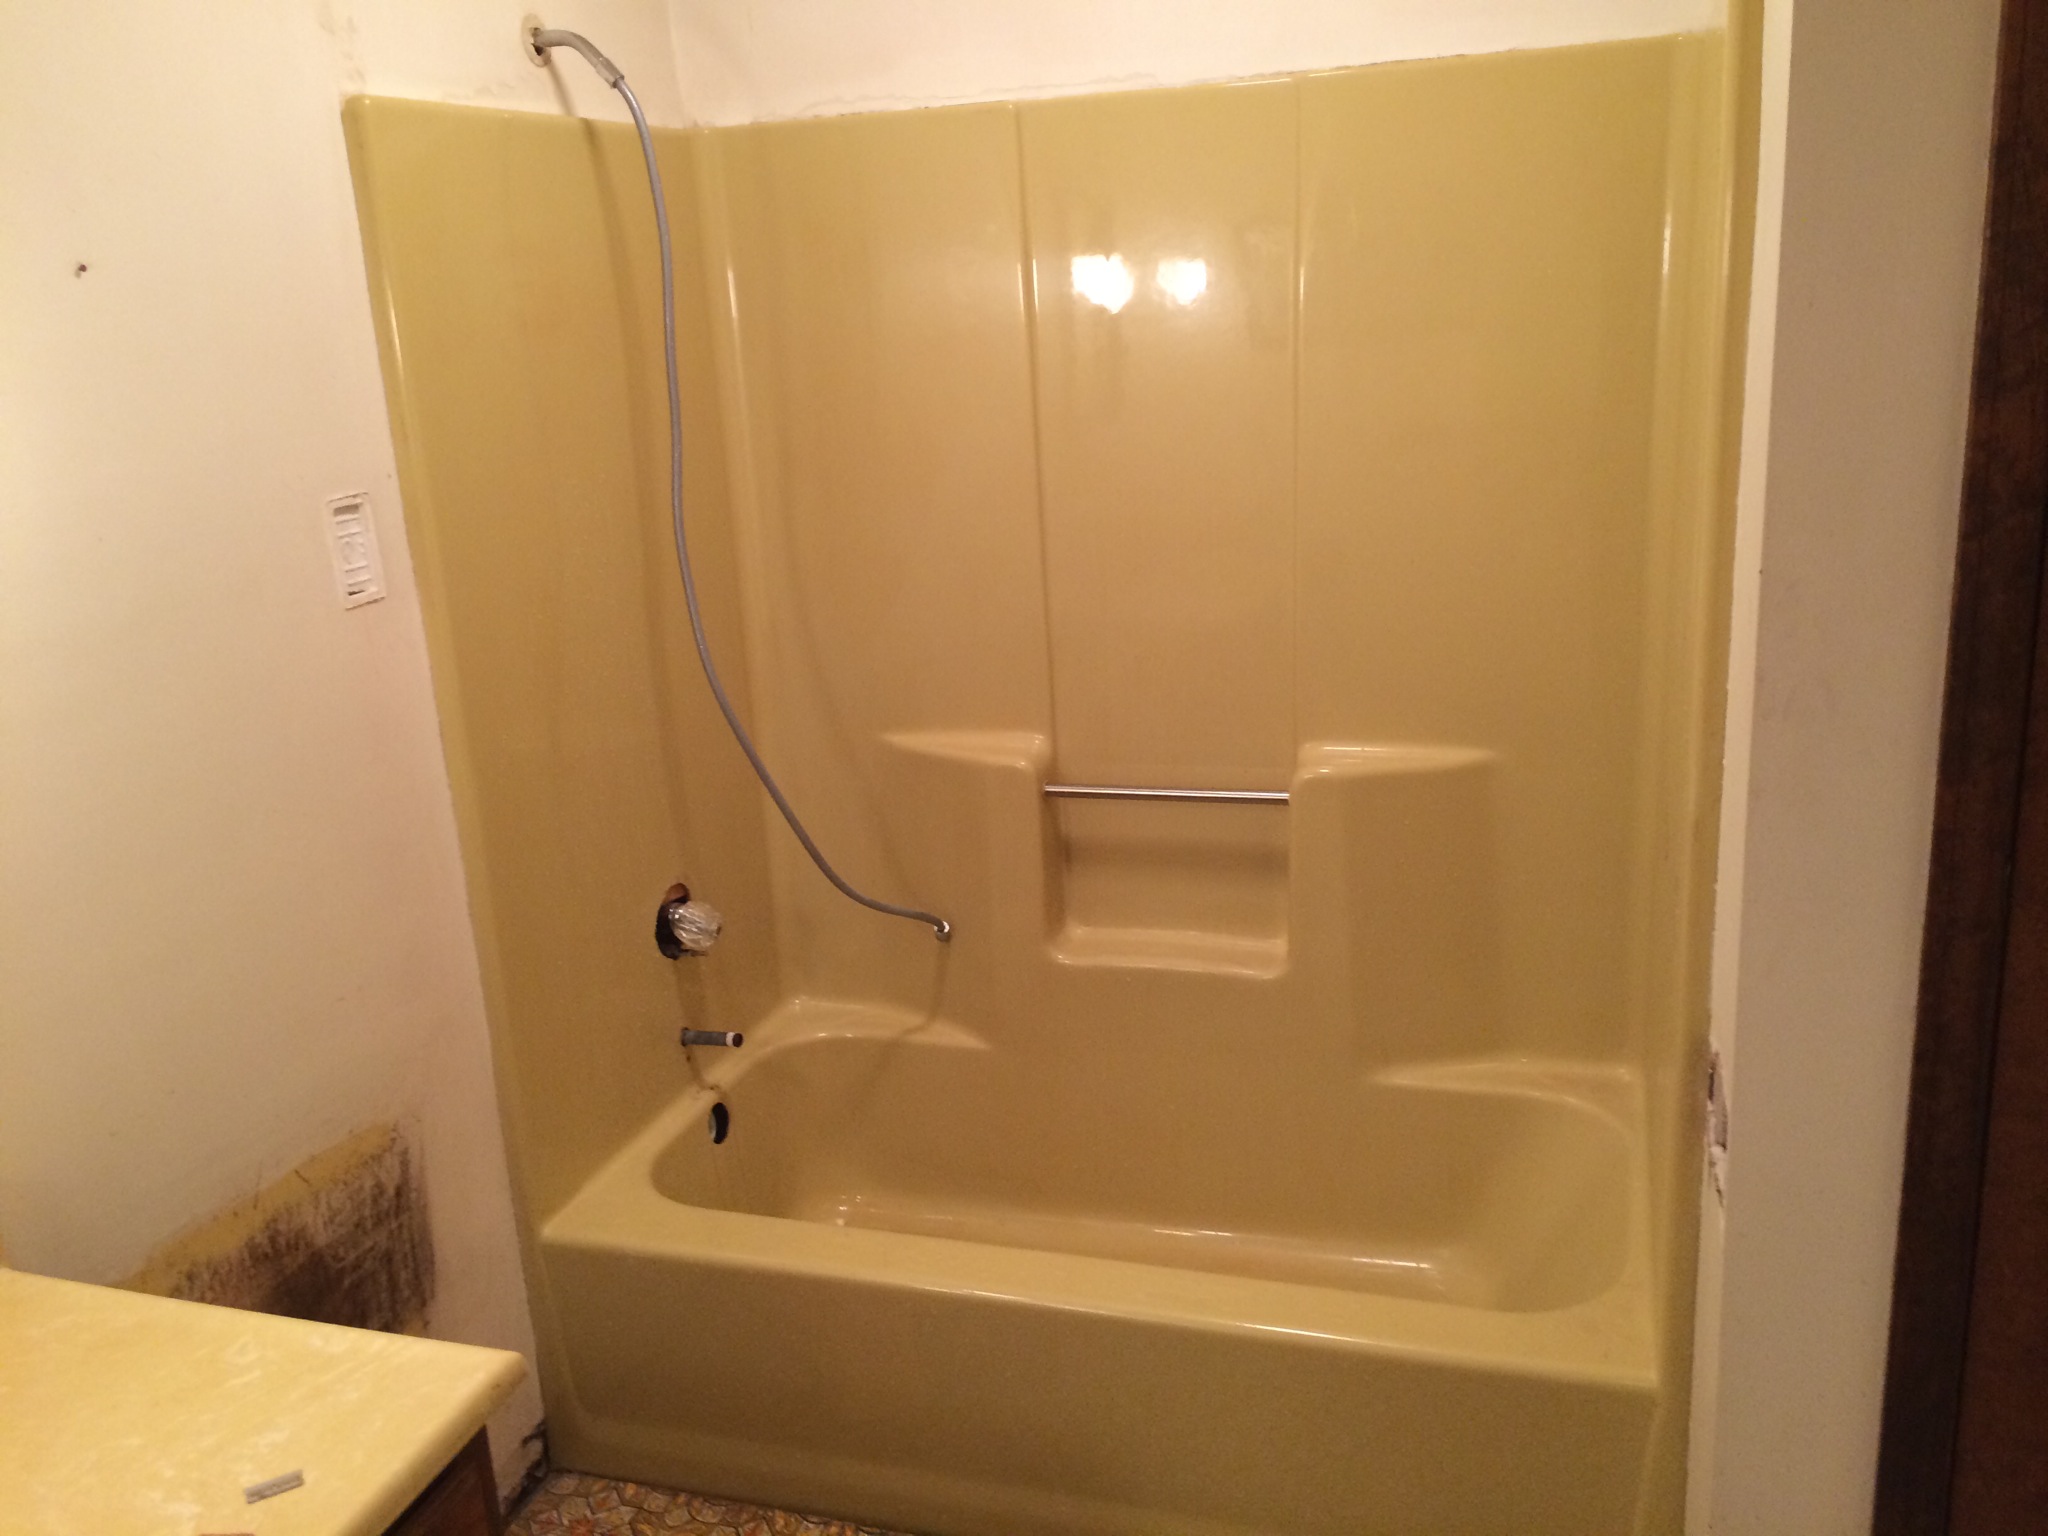
Our customer contacted us in regards to being able to resurface fiberglass and if it was possible. We contacted our customer and explain our process thoroughly. We assured our customer that our acrylic urethane bonds very well to a properly prepped surface of fiberglass. Our customer was concerned about being able to change the color from harvest gold to a standard bright white surface.
We asked the customer a few questions to ensure that her project went smoothly. One of the questions was how far was the toilet from the bathtub. The customer stated that the toilet was approximately 10 inches from the top which is too close to resurface a one piece unit without removing the toilet. One piece fiberglass units are harder to resurface than a standard bathtub due to the amount of spraying that is required. The customer removed the toilet to ensure that the finish came out consistent on the face of the tub and an upper walls.
After the removal of the toilet we are ready to start our resurfacing project. We thoroughly poly clean the surface and digested any silicone contaminants that were on the surface. Remember silicone is a contaminant it is not paintable. After completely properly cleaning to remove any contaminants and soap scum from the surface we completely dry the surface with towels and a hair dryer. After the surface was completely dried we started to prep the surface which consist of completely and thoroughly sanding the surface. Sanding the surface is the most important step in this process. Remember if the surfaces and completely sanded the product will not adhere to the surface and will cause peeling down the road. This is where a lot of companies fall short because the prepping and sanding takes a lot of time. After the surface is completely sanded properly we mask off the floors walls vanities and if there is a toilet in the room to keep from any overspray and getting on the fixtures. Next step is to completely tack cloth and vacuum the surface to remove any dust from sanding of the gelcoat. Just for your information the gelcoat is the actual color of the surface. After retag clock and vacuum the surface we wipe the complete unit down with our surface prep solvent. After this step we completely dry the surface. We will now tack cloth the surface once again to ensure I need dust is removed from the surface. The next step is to completely vacuumed the surface to remove any dirt nips. Will repeat this process multiple times before we apply our acrylic urethane coating normally companies only do the step one time. If the customer wants a nonslip surface installed on their bathtub we mask off the bottom of the tub and roll a silica sand Maton the bottom before we apply our coating to the rest of the bathtub. We mix our product and we are ready to resurface the rest of the unit. About 10 minutes and time has lapsed before the coating is applied so before applying the coding we tackler off the upper ledge of the bathtub in the face of the tub since it is a highs pot on the unit to take off any dirt next that may have settled in the air between the wait time of applying our coding. Remember it is very important and requires experience to determine how to thin or reduce your product room temperature and humidity is very important it can make a world of difference in how your finish comes out. We apply our first tach coatand let sit for 5 to 15 minutes depending on the temperature. After our tack coat is applied and completely dried we apply our second coat and let it dry to the touch. After the coats applied we repeat the stuff at least two more times. After the unit is completely dry to the touch we unmask the floors walls vanity and other fixtures in the room. The resurfacing project is now complete.


